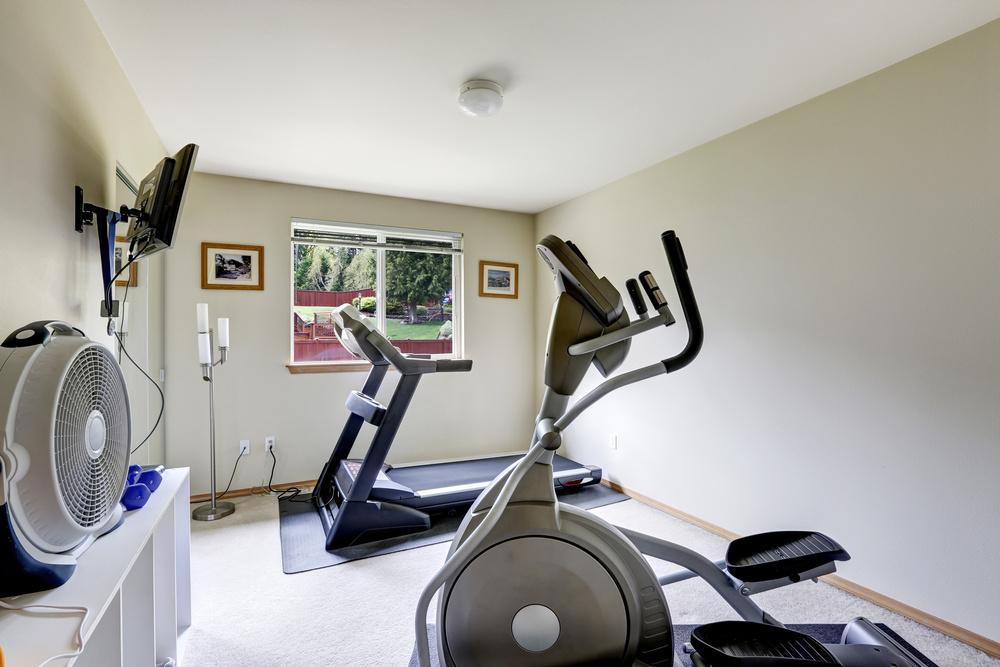
Converting your Garage Space into a Home Gym

Table of Contents
If your garage is being used for furniture storage at the moment, you might be wondering if you can start using that space for something more useful. Now’s your chance to clear out your garage clutter to make room for your very own home gym, complete with a stretching area, water station, exercise equipment and whatever else you can envision for your state-of-the-art exercise room.
Seem out of your range? Absolutely not! The team here at Spacer has been thinking about all the best ways to convert your garage space, from overrun furniture storage to enviable home gym in no time. Take a look at what we’ve come up with!
Step One: Get Inspired
If you feel like having a home gym is out of reach or unnecessary, take a look at some of the benefits of using your garage for exercise instead of furniture storage.
On the one hand, you’ll save money. Let’s face it, gym memberships are expensive. Many have a ridiculous joining fee that can cost anywhere from $60 to $200, or they offer a $0 joining fee by having you sign a long-term contract. Students and young professionals in particular feel stuck between paying a high joining fee and signing an anxiety-inducing 12 month payment plan. Both options seem unreasonable.
And then there are the monthly fees. Because each gym has its own hard-to-understand fee breakdown, it can be difficult to know what the best deal is. Doing the math often feels like a complicated game of “Do you want to pay $2 less per week for a three month contract or multiply by three for a two month contract? You have twelve seconds to decide before the offer is no longer available.” Okay, it’s not quite that complicated, but you get our point!
And given that the average Aussie pays somewhere between $728 and $3484 per year for a gym membership, the stakes are high to find the right promotion.
Having your own at-home gym takes away the hassle completely. And you’ll end up saving money in the long run. Sure, you’ll spend some money up-front on the equipment and, if you’ll be using electric machines, there will be some overhead costs. But, even if you’re on a budget, the basics for an at-home gym are pretty reasonable. With nothing more than a yoga mat ($5 to $50), adjustable dumbbell set ($40 to $150), and a skipping rope ($20), you have everything you need for weight training and cardio. You may even end up spending less money than some joining fees out there.
And, if you decide that you want to splurge on some equipment, an extra $300 will get you a perfectly good exercise bike or used treadmill. Even if you go all out and spend a couple thousand dollars on your new at-home gym equipment, you’ll be saving money over time, and you won’t have to pay for transportation fees to and from your gym.
Here’s your second inspirational push: you’ll use your at-home gym more. When it’s right in your home, there are no excuses! You can workout regardless of the weather. You won’t have to worry about your workout taking up too much time because you won’t have to drive there and wait around for equipment to free up. Just get in, sweat it out, and get on with your day. It’s so easy and convenient that once you’ve made it a regular habit, you’ll work out more than you ever would at a gym.
So, are you pumped yet? If so, let’s talk logistics!
Step Two: Figure out if you need any building permits
For anyone looking to simply clear out their furniture storage from their garage and add in an exercise bike or something similar, you won’t need to worry at all about permits and licenses.
But, if you want to make any structural changes, such as adding in a home gym shower or switching up the electric, take a look at our guide to home renovations for some help.
Step Three: Clear out the clutter
How does your garage look at the moment? Is it filled to the ceiling with furniture storage and memorabilia? If it is, don’t beat yourself up. Many of us treat our garages like huge closets for our extra clothes, holiday decorations, old furniture, and things that we’re just not sure what to do with. So, the first step towards transforming the space is to completely get rid of what you no longer need.
Donate those half-read books. Return any items you borrowed from your neighbours or friends. Throw away anything that is mouldy, and digitise your documents. The less you have to find homes for, the better.
Step Four: Find alternative furniture storage options
Now, at this point you might have a few leftover items that will need to find new homes or temporary homes. If you’re selling some of your items online or would like to hold onto them, you might move them from your garage furniture storage to somewhere off-site.
Spacer is a great way to find affordable rental spaces for your furniture and other bulky items. And if you’re thinking, “Wait a minute, isn’t the whole plan to save money?” Look at the prices. Even in busy cities like Melbourne and Sydney, you’ll be saving money renting furniture storage compared to the price of a gym membership.
Step Five: Clean and cool
Your clutter is gone. Your furniture items are safely stored away in affordable furniture storage. You should have a pretty empty garage at the moment!
Before you move in your exercise equipment and start blasting your favourite exercise playlist, there are two last preparatory tasks that you’ll want to do: clean and cool.
A deep cleaning of this space will make it a much more enjoyable place to exercise when you do move your exercise bike or other exercise equipment in.
Second, think about your cooling system. Your garage may seem breezy enough now, but once you start getting your heartrate up, you’ll have wished you had thought about moving in that big fan or air conditioning unit earlier. Do it before you set up your exercise equipment so that it’s already incorporated into your layout.
Step Six: Roll in the equipment
It may take a few weeks for you to find the perfect layout for your at-home gym. If you don’t like your exercise bike here or you want to move your weight training exercise equipment there, that’s fine! Be flexible with your layout so that you can settle on a comfortable home gym.
Want an insider tip? Put one or a couple of floor-length mirrors on the wall around your home gym. There are a couple of benefits, here. One, it will make your space look brighter and more open. And two, you’ll be able to keep an eye on your form to prevent injuries and boost your motivation.
Step Seven: Start exercising!
You did it! In six simple steps, you transformed your furniture storage garage space into the at home gym of your dreams! So, hop on the exercise bike, start pumping iron, get those post-workout smoothies ready. You’ll love working out in the comfort of your own home all while saving money! You’ve made a wonderful investment in your health!


